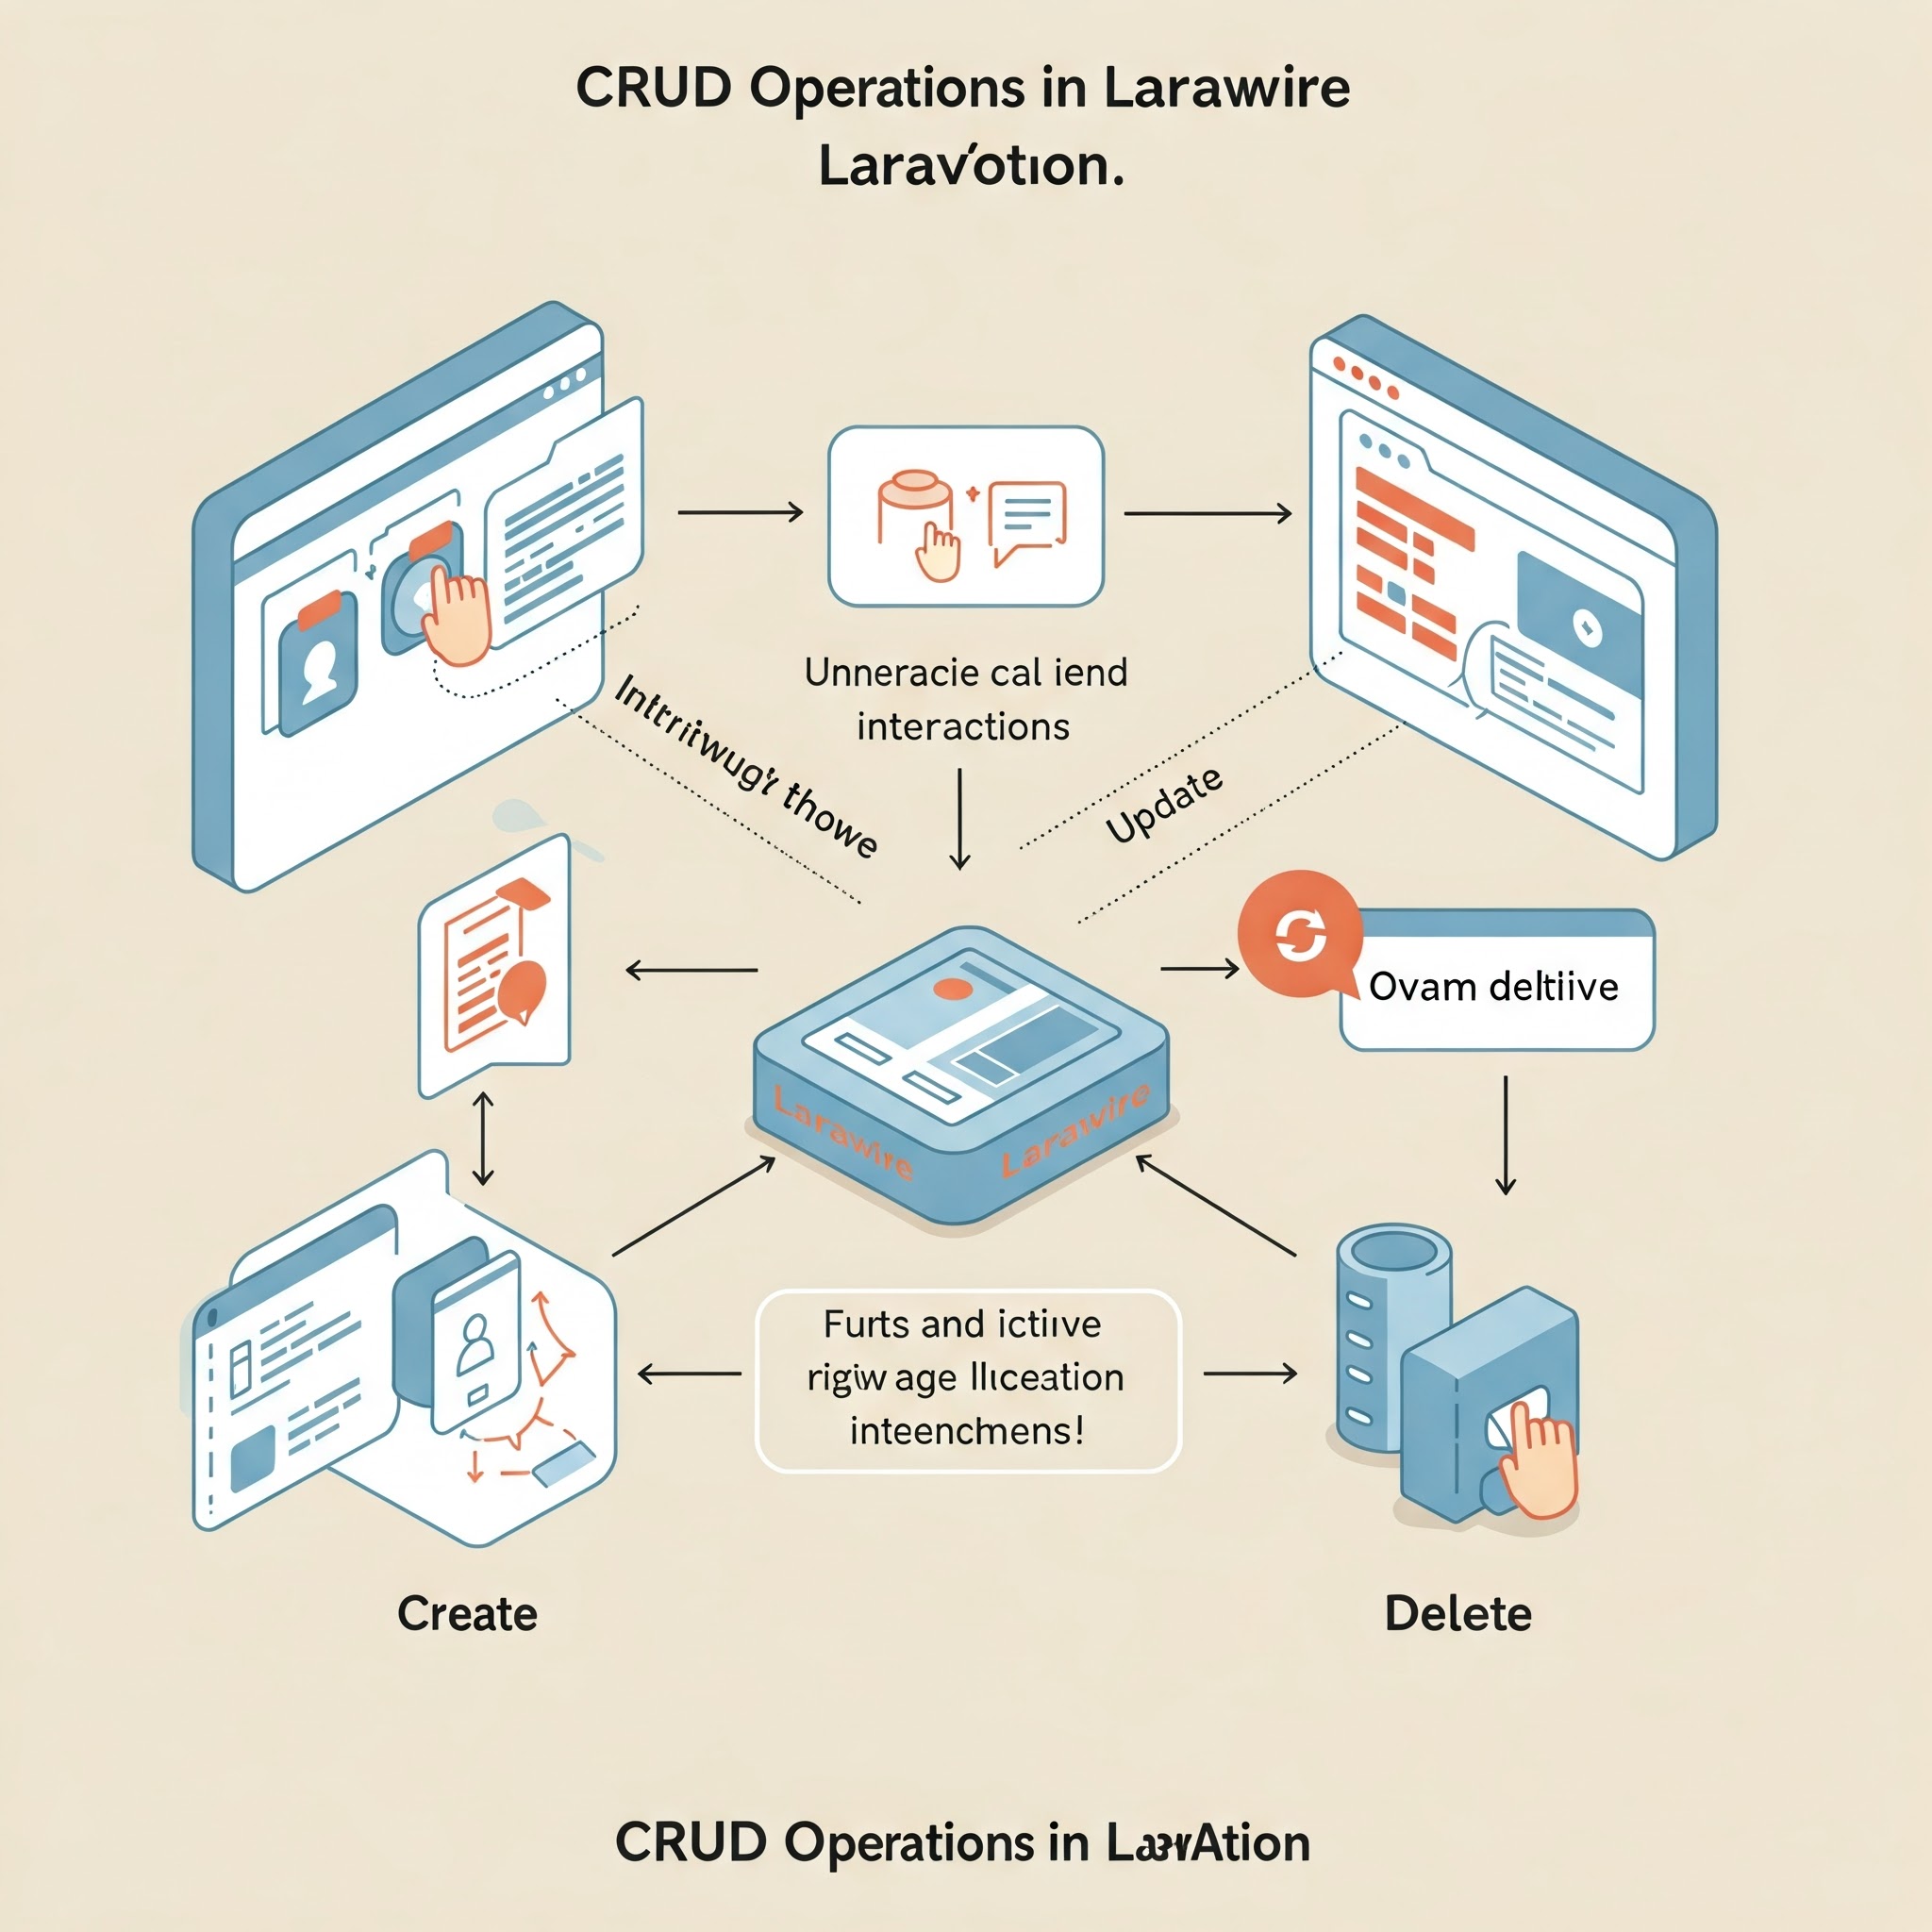
CRUD Operations in Laravel Livewire
What is Laravel Livewire?
Laravel Livewire is a full-stack framework that simplifies the process of building dynamic interfaces in Laravel applications. It allows developers to create interactive components without writing extensive JavaScript code. By utilizing Livewire, you can leverage Laravel's powerful backend capabilities while maintaining a responsive and engaging user interface.
Prerequisites
Before diving into the implementation of CRUD operations with Laravel Livewire, ensure you have the following prerequisites:
-
PHP 8.1 or higher: Ensure your development environment is running on a compatible version of PHP.
-
Composer: This dependency manager for PHP is essential for managing packages.
-
Laravel 10.x: The latest version of Laravel should be installed.
-
Database Server: You can use MySQL, PostgreSQL, SQLite, or SQL Server as your database.
-
Step 1: Setting Up Your Laravel Application
To begin, create a new Laravel application using Composer. Open your terminal and run the following command:
composer create-project --prefer-dist laravel/laravel your-project-name
This command sets up a new Laravel project with all the necessary configurations.
Step 2: Configure Database Connection
Next, configure your database connection by editing the .env file located in the root directory of your Laravel project. Set the following variables according to your database setup:
DB_CONNECTION=mysql
DB_HOST=127.0.0.1
DB_PORT=3306
DB_DATABASE=your_database_name
DB_USERNAME=your_username
DB_PASSWORD=your_password
Make sure to create the specified database in your database server before proceeding.
Step 3: Install Livewire
To install Livewire in your Laravel application, navigate to your project directory in the terminal and run:
composer require livewire/livewire
After installation, include the Livewire styles and scripts in your Blade layout file (usually resources/views/layouts/app.blade.php):
<head>
    @livewireStyles
</head>
<body>
    @yield('content')
    @livewireScripts
</body>
Step 4: Create Livewire Components
Livewire components are essential for handling CRUD operations. To create a component for managing items (for example), run:
php artisan make:livewire ItemManager
This command generates two files: ItemManager.php (the class) and item-manager.blade.php (the view). The class handles the backend logic, while the Blade view manages the frontend interface.
Step 5: Set Up Database Migration and Model
Next, create a model and migration for your items. Run the following command:
php artisan make:model Item -m
This command creates an Item model and a migration file. Open the migration file located in database/migrations/ and define the columns you need:
public function up()
{
    Schema::create('items', function (Blueprint $table) {
        $table->id();
        $table->string('name');
        $table->text('description');
        $table->timestamps();
    });
}
After defining your schema, run the migration to create the table:
php artisan migrate
Step 6: Implementing CRUD Operations in Livewire Component
Now that we have our model and migration set up, we can implement CRUD operations in our ItemManager.php component. Here’s an example of how to structure this component:
namespace App\Http\Livewire;

use Livewire\Component;
use App\Models\Item;

class ItemManager extends Component
{
    public $items, $name, $description, $itemId;
    public $isOpen = false;

    public function render()
    {
        $this->items = Item::all();
        return view('livewire.item-manager');
    }

    public function openModal()
    {
        $this->resetInputFields();
        $this->isOpen = true;
    }

    public function closeModal()
    {
        $this->isOpen = false;
    }

    public function resetInputFields()
    {
        $this->name = '';
        $this->description = '';
        $this->itemId = '';
    }

    public function store()
    {
        Item::updateOrCreate(['id' => $this->itemId], [
            'name' => $this->name,
            'description' => $this->description,
        ]);

        session()->flash('message',
            $this->itemId ? 'Item Updated Successfully.' : 'Item Created Successfully.');

        $this->closeModal();
        $this->resetInputFields();
    }

    public function edit($id)
    {
        $item = Item::findOrFail($id);
        $this->itemId = $id;
        $this->name = $item->name;
        $this->description = $item->description;

        $this->openModal();
    }

    public function delete($id)
    {
        Item::find($id)->delete();
        session()->flash('message', 'Item Deleted Successfully.');
    }
}
Explanation of Methods
-
render(): Fetches all items from the database and passes them to the view.
-
openModal() & closeModal(): Controls modal visibility for adding or editing items.
-
resetInputFields(): Resets input fields after submission.
-
store(): Handles both creating and updating items based on whether an ID is present.
-
edit(): Prepares item data for editing.
-
delete(): Deletes an item from the database.
Step 7: Creating Blade View
Now let’s create our Blade view (item-manager.blade.php). Here’s a simple structure:
<div>
    <button wire:click="openModal()">Add Item</button>

    <table>
        <thead>
            <tr>
                <th>Name</th>
                <th>Description</th>
                <th>Actions</th>
            </tr>
        </thead>
        <tbody>
            @foreach($items as $item)
                <tr>
                    <td>{{ $item->name }}</td>
                    <td>{{ $item->description }}</td>
                    <td>
                        <button wire:click="edit({{ $item->id }})">Edit</button>
                        <button wire:click="delete({{ $item->id }})">Delete</button>
                    </td>
                </tr>
            @endforeach
        </tbody>
    </table>

    @if($isOpen)
        <div class="modal">
            <form wire:submit.prevent="store">
                <input type="text" wire:model="name" placeholder="Name" required />
                <textarea wire:model="description" placeholder="Description" required></textarea>
                <button type="submit">Save</button>
                <button wire:click.prevent="closeModal()">Cancel</button>
            </form>
            @if(session()->has('message'))
                <div>{{ session('message') }}</div>
            @endif
        </div>
    @endif
</div>
Explanation of View Components
-
The table displays all items with options to edit or delete each entry.
-
A modal form appears when adding or editing an item.
-
Feedback messages are shown upon successful actions.


